In the world of event production, recording, and live streaming, audio quality can make or break the experience. While flashy visuals and well-planned content are essential, poor microphone technique can undermine everything, leading to muffled, distorted, or unintelligible audio. Whether you’re speaking at a conference, recording a podcast, or hosting a live stream, understanding how to use a microphone properly is crucial for ensuring clear and professional sound.
Why Microphone Technique Matters

Good microphone technique is the key to effective communication. When used correctly, a microphone captures voice or sound with clarity, ensuring the audience receives the message without distraction. Poor technique, on the other hand, can introduce a range of issues, from excessive background noise to unpleasant plosives (harsh ‘P’ and ‘B’ sounds) and feedback. These problems can make an otherwise well-produced event sound amateurish.
Clear audio is also essential for engagement. Listeners and viewers are more likely to stay tuned when they can hear and understand the speaker effortlessly. In contrast, audio problems can quickly lead to frustration, causing people to disengage.
Key Elements of Proper Microphone Technique
- Positioning and Distance
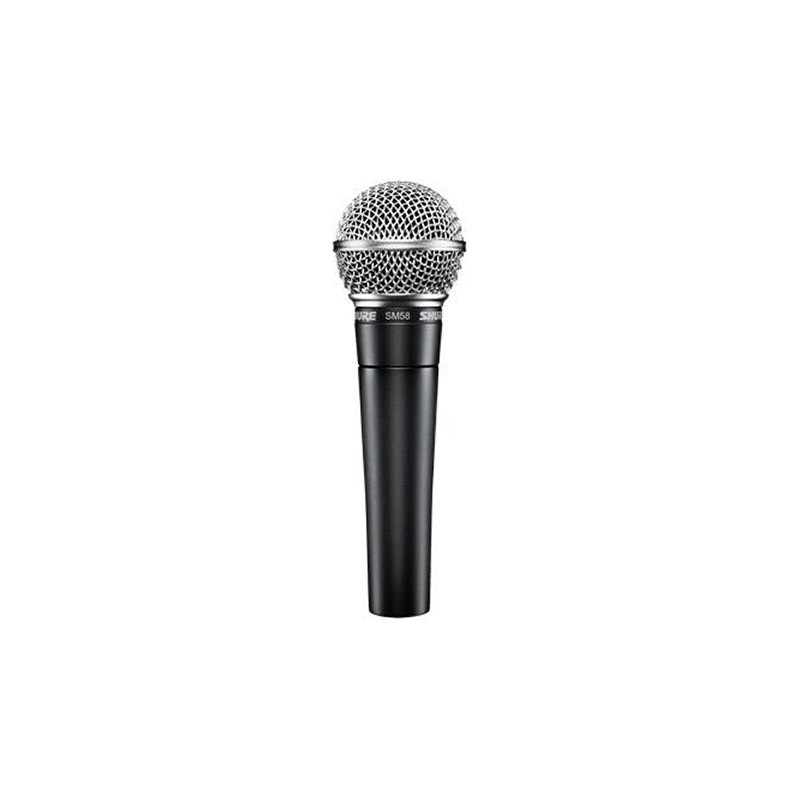
- Hold or place the microphone at an appropriate distance—typically 10-15 cm from the mouth for handheld mics.
- Avoid holding the microphone too close, which can cause distortion and overwhelming bass (proximity effect).
- Keep it too far, and your voice may sound weak or be drowned out by background noise.
- Angle and Direction
- Speak directly into the microphone at a slight angle to minimise plosive sounds.
- Use a pop filter for studio recordings to soften harsh consonants.
- Be mindful of movement—if you turn your head away from a stationary microphone, your voice may fade out.
- Handling Noise and Stability
- If using a handheld microphone, grip it firmly but avoid unnecessary movement that can create handling noise.
- For lapel or headset mics, ensure they are securely placed to prevent rubbing against clothing.
- On stage, avoid tapping or covering the microphone with your hand, as this can cause audio interference.
- Environmental Awareness
- Minimise background noise by choosing the right microphone type for the setting (e.g., directional mics for noisy environments).
- Be aware of echo and reverb—small, untreated rooms can cause unwanted reflections, affecting clarity.
The Impact on Production and Recording Quality
A well-executed event or recording relies heavily on sound quality. Clear audio reduces the need for excessive post-production editing, making workflows more efficient. It also enhances the professionalism of the production, leaving a lasting impression on audiences. In live streaming, where there’s no second chance to fix audio, proper microphone technique is even more critical.

By mastering good microphone technique, presenters, performers, and content creators can ensure their message is delivered effectively. Whether in a live setting or a controlled recording environment, taking the time to understand and apply these principles will elevate the overall production quality and keep audiences engaged. Need expert audio solutions? Contact Lida AV today!
Frequently Asked Questions (FAQ)
1. Why is microphone technique important for recording and live streaming?
Microphone technique ensures your voice is captured clearly without distortion, feedback, or background noise. In recording and live streaming, poor audio can make content difficult to follow and may cause audiences to disengage, even if visuals are strong. Good technique guarantees professionalism and keeps listeners engaged.
2. What is the ideal distance from the microphone for clear sound?
For handheld microphones, the recommended distance is 10–15 cm from the mouth. Too close and you risk distortion and booming bass (proximity effect); too far and your voice may sound thin or get drowned out by surrounding noise. Consistent positioning is key for quality audio.
3. How can I reduce plosive sounds like “P” and “B” during recording?
To reduce plosives, speak slightly off-axis (at an angle) rather than directly into the mic. Using a pop filter in studio recordings also softens harsh consonant sounds. These small adjustments help maintain clarity and prevent distracting bursts of sound.
4. What mistakes should I avoid when handling a microphone on stage?
Common mistakes include gripping the microphone too tightly, covering the grille, or tapping it all of which can cause interference or feedback. For the best results, hold it steadily, avoid excessive movement, and allow the microphone to capture sound naturally.
5. How does microphone technique impact post-production and live events?
Good microphone technique reduces the need for extensive audio editing in post-production, saving time and ensuring efficiency. For live events and streaming, where issues cannot be fixed afterward, proper technique ensures professional, clear, and reliable sound delivery in real time.